
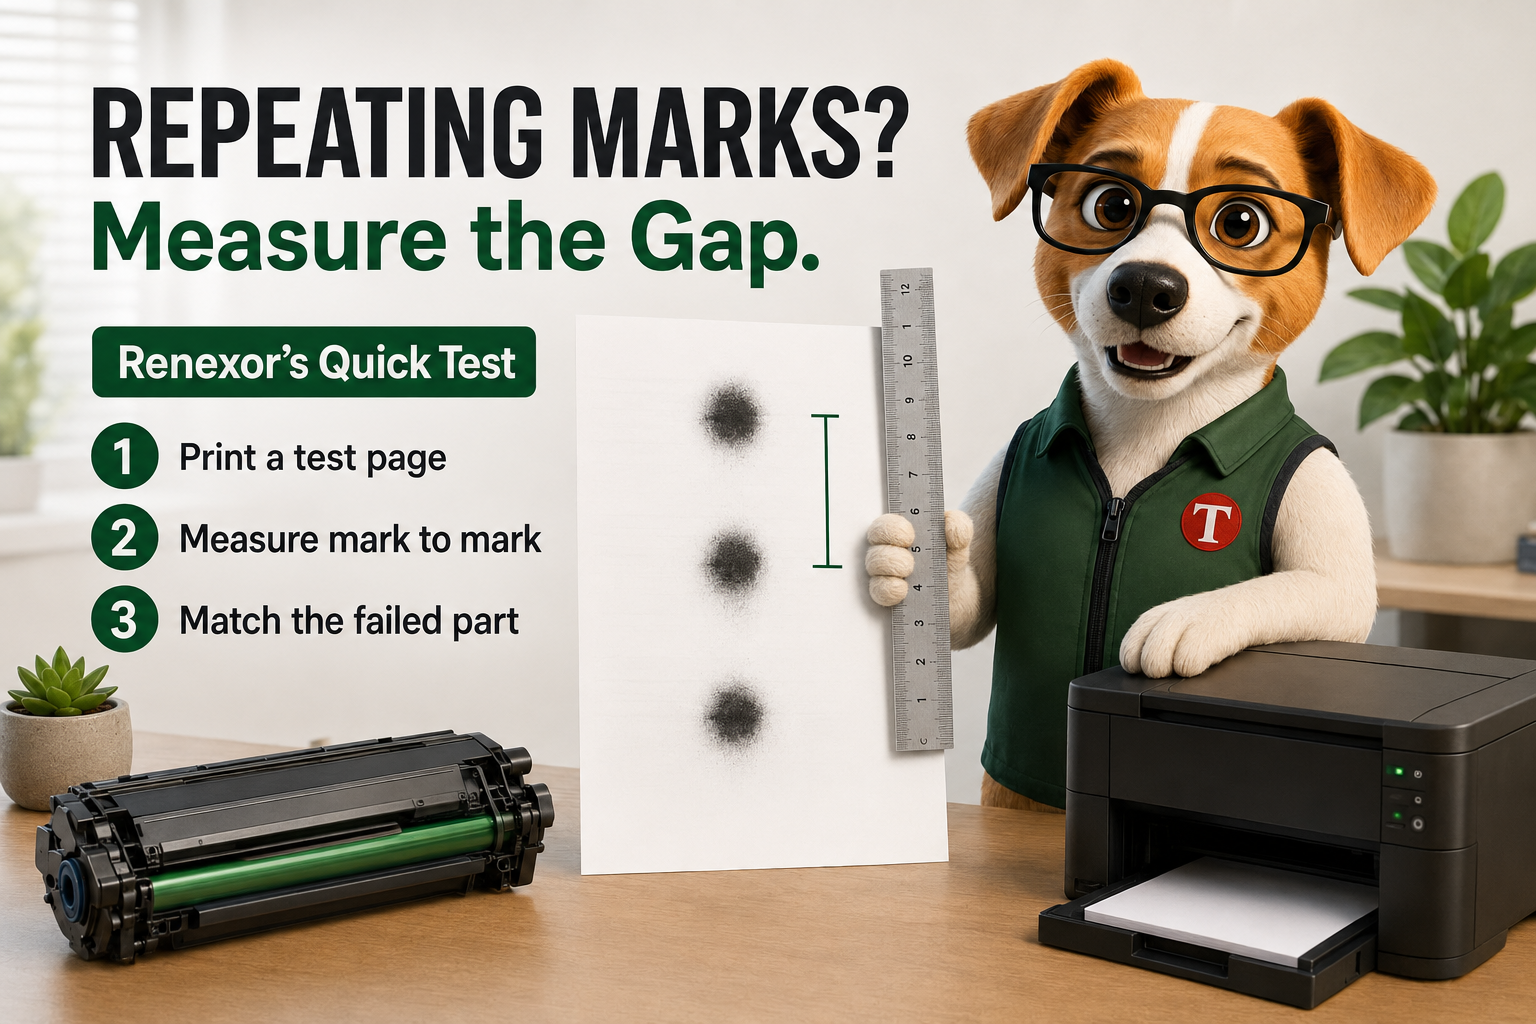
Hey there. I'm Renexor, and I want to tell you about the most useful ruler you will ever hold.
Here's the situation. Your pages come out with a mark on them. A dot. A smudge. A little grey streak that shouldn't be there. It's not in the same place on every page, so it feels random — and random feels like "the printer is dying." So you do the thing everybody does: you buy a new toner cartridge, swap it in, and hope.
Sometimes that works. And when it doesn't, you've spent money and learned nothing.
Take a breath, because here's the part nobody tells you: that mark is not random. It's periodic. And a periodic defect is a signature. Your printer is not being mysterious — it is quietly repeating the name of the broken part, over and over, down the page, in a language made of millimeters.
Let me teach you to read it. 🐾
Why does the same mark repeat down the page?
Because almost everything inside a laser printer is a cylinder that turns.
The imaging drum turns. The charge roller turns. The developer roller turns. The transfer roller turns. The fuser rollers turn. A mono laser printer might have seven rotating parts touching the page path; a color machine can have more than twenty.
Now put a single flaw on one of them — a scratch on the drum, a nick in the cleaning blade, a fleck of hardened toner welded to a fuser roller. That flaw touches the page once per revolution. Then the roller comes around and touches it again. And again.
So the gap between the marks isn't arbitrary. The gap is the circumference of the part that's broken. Every rotating component inside your printer has a different diameter — which means every one of them leaves a defect with a different, identifiable rhythm.
That's the whole trick. Find the rhythm, name the part.
🐾 Renexor's Pro Tip: The reason this looks random is that the defect doesn't land in the same spot on each sheet. The roller doesn't reset between pages — it just keeps turning. So the mark drifts down the stack while the interval stays locked. Stop looking at where the mark is. Start measuring how far apart they are.
How do I measure a repeating printer defect?
You need a printout, a ruler with millimeters, and about four minutes.
- Print a full-page test. A solid black or 50% grey fill across the entire page. Don't diagnose from a normal document — white space hides marks and cuts your measurement short. Most drivers have a print-quality or diagnostic page under maintenance; a full-page grey box from any app works too.
- Find two identical marks. Same shape, same darkness, same distance from the left edge. They must be twins. A different-looking mark is a different problem.
- Measure center-to-center, in millimeters. Not edge to edge. Millimeters, because that's the unit every service chart uses.
- Confirm with a third mark. Measure the next gap down. If the intervals match, you have a genuine repeating defect. If they don't, stop — you're chasing something else, and I'll cover that below.
- Look up your model's repetitive defect ruler. Search your exact printer model plus "repetitive defect ruler" or "repetitive image defects." Manufacturers publish these in the service manual, and HP has published defect rulers covering whole families of LaserJets. Your number goes in, the part name comes out.
🐾 Renexor's Pro Tip: Print at full page to get ruler accuracy. Two marks close together give you a sloppy number, and a sloppy number points at the wrong part. If you can get three or four repeats on one sheet, measure the total span and divide — that averages out your hand.
What do the intervals usually mean?
Here is where I have to be straight with you, because this is exactly where most articles on this subject lie to you by omission.
These numbers are not universal. Across HP's own color laser lineup alone, published defect intervals run from about 26.7 mm to about 148 mm depending on the engine. A drum on one machine is a fuser on another. So treat the table below as a map of the neighborhood, not the address of the house.
| Repeat interval | Typically points to |
|---|---|
| ~26–27 mm | Charge roller or developer-side component on many engines |
| ~37–44 mm | Registration or transfer components on some engines |
| ~54 mm | Magnetic roller on some engines — see the gearing note below |
| ~56–63 mm | Developer or transfer roller region |
| ~75–79 mm | Fuser rollers on many engines |
| ~94–96 mm | Imaging drum (OPC) on many HP/Canon engines |
| ~148 mm | Imaging drum on certain color engines |
And a beautiful piece of weirdness that proves why the manufacturer's chart beats arithmetic: on some engines the magnetic roller's actual circumference is about 62.8 mm — but because of how it's geared, its defects show up at roughly 54 mm intervals. Measure the part, and you'd get the wrong answer. Measure the page, and you get the truth.
There's a second trap. On some printers — HP's LaserJet IIISi series is the classic example — the fuser roller and the photosensitive drum have the same circumference. Two completely different parts, two completely different repair bills, one identical measurement.
Which brings us to the best trick I know.
The stop test: is it happening before the fuser, or after?
The fuser is the last station on the line. It melts toner onto paper at roughly 380–400°F. Everything else — drum, developer, transfer — happens before the page ever gets there.
So if you can look at the page mid-flight, before it reaches the fuser, you settle the argument in thirty seconds.
- Send a print job — a configuration page or your grey test page.
- Wait a beat, roughly a second, until the sheet has fed but hasn't reached the fuser.
- Open the cartridge door. The safety interlock cuts power and the machine stops where it stands.
- Lift out the cartridge and find the sheet. The toner on it is loose, unfused powder — handle it by the edges and don't shake it.
- Look for your defect.
The verdict is binary and it is honest:
- Defect already on the page? The fuser is innocent. Look at the drum, developer, or transfer stage.
- Page clean before the fuser, defect on the finished print? The fuser is offsetting toner. It's your culprit.
🐾 Renexor's Pro Tip: While the cartridge is in your hand, look at the drum surface itself. If the pattern from your page is visible on the drum, you have your answer without measuring anything at all. Look with your eyes only. Fingerprints and paper towels are how a diagnosis becomes a replacement.
What does each verdict cost me?
This is why I'd rather you measure than guess:
- Drum / OPC. On most small-office lasers the drum lives inside the cartridge — so a new cartridge genuinely is the repair. On machines with a separate drum unit, it isn't. Know which kind you own before you order. (If you're on an HP LaserJet, my HP 58A & 58X troubleshooting guide walks through what's inside that cartridge.)
- Developer or magnetic roller. Also usually inside the cartridge. Cartridge swap.
- Transfer roller. A separate part. A new cartridge will change nothing, and you'll be back next week wondering why.
- Fuser. A separate assembly, typically the most expensive of the four. A cartridge will not fix it — but it will convince you the cartridge was defective, which is how good cartridges get blamed for bad fusers.
- Grey background with a repeating pattern. Often the drum's erase or cleaning process breaking down. On modern machines, a cartridge change frequently clears it.
One measurement stands between "I fixed it for the price of toner" and "I replaced three parts and it still does it."
What if the intervals don't match?
Then the good news is: it isn't a roller.
Marks that appear at irregular distances, or wander around the page, or only show up on some sheets, are almost never rotational. That pattern usually points at paper, static, humidity, or the room itself — a completely different investigation, and one I've already written up in my field guide to printer humidity and temperature. Start there instead.
Vertical lines that run the full length of the page without breaking aren't repeating defects either. A continuous streak means something is dragging — a nicked cleaning blade, a contaminated blade edge, debris in the path. No interval, no ruler needed.
What not to do
- Don't buy anything before you measure. Four minutes and a ruler, then the shopping list.
- Don't touch the drum surface. It's a light-sensitive coating. Your fingers leave oil, and oil prints.
- Don't clean the drum with alcohol or a paper towel. You will turn one scratch into a page full of them.
- Don't open the fuser while it's hot. 380–400°F is not a figure of speech. Power down and give it real time.
- Don't measure from a text document. You'll miss the marks in the white space and get an interval that's a multiple of the real one.
FAQ
Why does the mark move to a different spot on each page?
Because the roller keeps turning between sheets and doesn't reset. The position drifts; the interval doesn't. That's why measuring the gap works when eyeballing the location doesn't.
Can a new toner cartridge fix a repeating defect?
Only if the failed part lives inside the cartridge — typically the drum, developer, or magnetic roller on small-office lasers. If your interval points to the fuser or the transfer roller, a new cartridge changes nothing.
Where do I find the repetitive defect ruler for my printer?
In the service manual for your exact model. Search your model number plus "repetitive image defect ruler." Use the chart for your model, not a generic one — intervals vary by engine, and a near-miss names the wrong part.
How accurate does my measurement need to be?
Within a couple of millimeters is usually enough to separate candidates, since components in one machine are rarely that close in size. Measure across several repeats and divide to tighten it up.
Does this work on inkjets?
Not the same way. Inkjets don't have a fused drum-and-roller train, so repeating marks there usually mean rollers dragging ink or a maintenance issue — the ruler method is a laser and copier technique.
What if two parts have the same circumference on my model?
It happens — some HP engines pair a fuser roller and drum at identical sizes. That's exactly what the stop test is for. It separates them in thirty seconds.
Your printer has been telling you what's wrong this entire time. It just happens to speak in millimeters.
Measure the gap, name the part, buy the one thing you actually need. That's a better Friday afternoon than the alternative.
— Renexor, Your Printer's Smartest Friend
Toner Cartridge Depot — Trusted Since 1998
Measured your interval and it's the cartridge after all? Get one matched to your exact model — quality-tested OEM, compatible, and remanufactured — at www.tonercartridgedepot.com. And if the number pointed at the fuser instead, I'm glad you didn't spend the money.